As our regular readers know, John built our home and he’s always working on new projects, from a catio to, just this past week, putting new windows in the bathroom. He’s very handy with tools and has great carpentry and plumbing skills, so I turned to him for advice (and help!) in making a DIY interactive dog toy for feeding and treating our dogs.
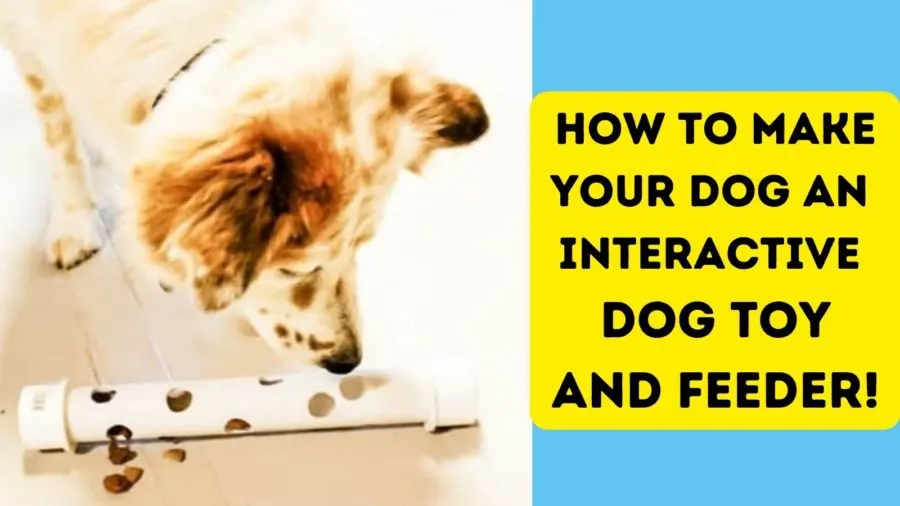
Why Use an Interactive Toy for Feeding Your Dog
An interactive dog toy can be a great way to dispense food and/or treats! You can use these toys to:
- give your dog a “job” when you need him to be occupied
- distract your dog when you’re leaving, especially if your dog suffers from separation anxiety
- slow fast eaters who gulp their food
- make your dog’s meal last longer, especially important for dogs on a diet
After each meal, just like you would your dog’s plate, you’ll want to clean the interactive toy so it’s important to make the feeder from dishwasher friendly materials.
Materials You’ll Need
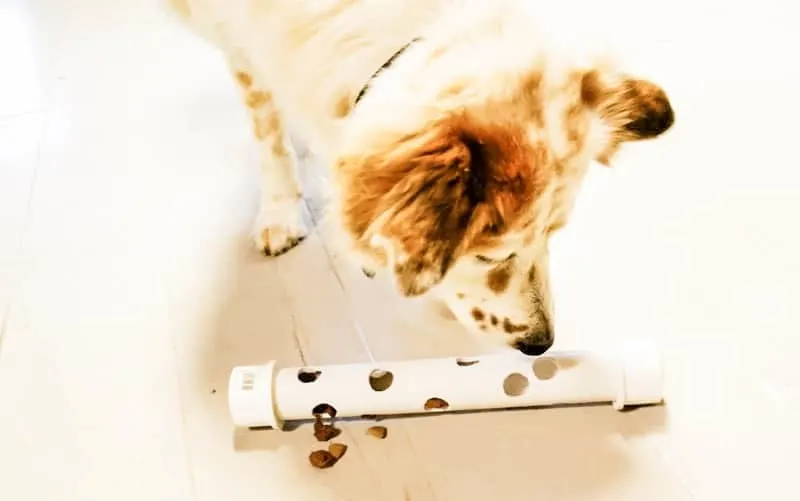
First, we purchased the building materials:
- a 3-foot length of 1-1/4-inch PVC pipe
- 8 1-1/4-inch PVC caps
- PVC cement (optional)
Our interactive dog feeder was constructed using tools that many homes already have:
- a drill
- a 1/2-inch drill bit
- sandpaper
- a rat-tail file (or you could wrap sandpaper around a screwdriver)
- a vise (optional)
With our 3-foot length of PVC, we made four feeders: two one-foot lengths and two six-inch lengths for small dogs and cats.
Measuring and Marking
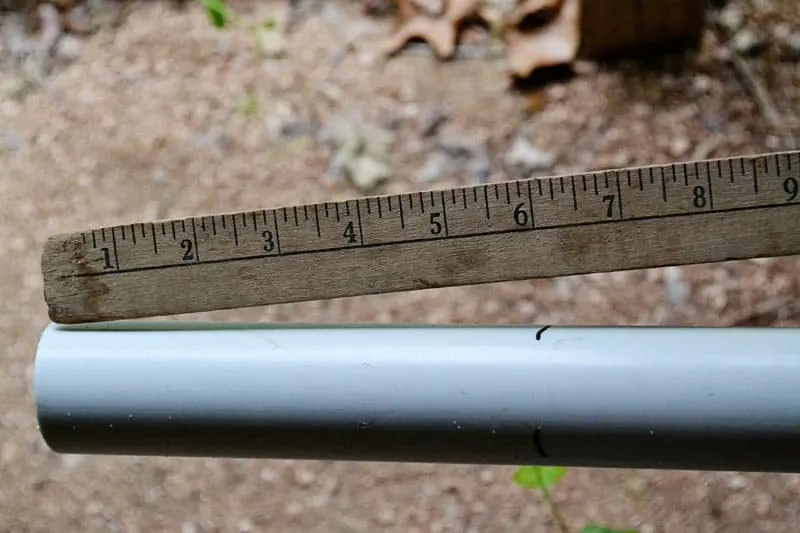
Putting the PVC pipe in the vise, John first measured and marked the pipe.
NOTE: It’s easier to do all the measuring, marking and drilling BEFORE cutting the pipe into smaller lengths.
Since we wanted both cat and dog feeders, we made 6-inch and 12-inch feeders, marking with a Sharpie pen directly on the PVC where the cuts would be made, as well as where the holes would be drilled.
Drilling
To make the drilling easier, John first drilled pilot holes in the PVC using a small standard bit then used a 1/2-inch paddle bit to drill holes.
In case the shelter was using larger sized kibble, he made one feeder with 3/4-inch holes.
Cutting
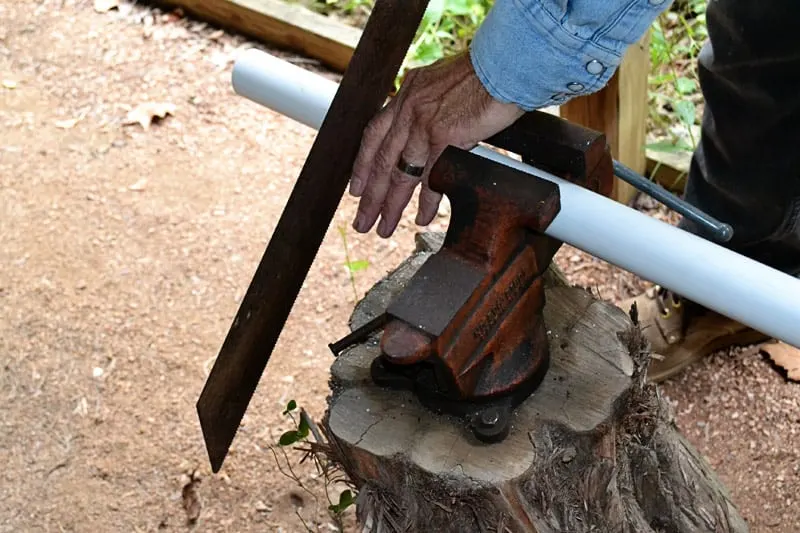
The next step was to cut the PVC into lengths.
Sanding and Deburring
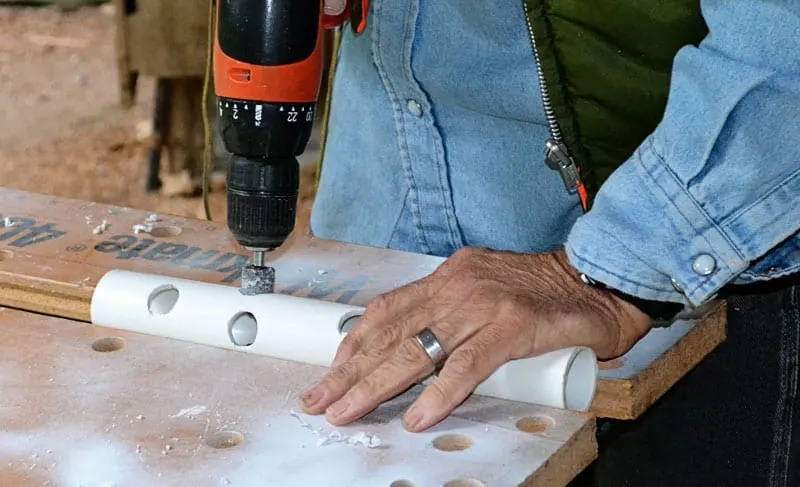
Drilling into the PVC can produce ragged edges so the next step was sanding and deburring or removing the jagged bits around each hole.
John used a grinding bit on his drill to knock off the larger pieces and then followed with sandpaper; you could also just use sandpaper.
To smooth inside the holes, John used a rat-tail file; if you don’t have one, just wrap a piece of sandpaper around a screwdriver and sand inside the holes.
Cleaning
Once all the parts are cut and sanded, put the PVC lengths and caps into the dishwasher for cleaning (or wash in hot, soapy water by hand).
Use a baby bottle brush to clean inside the PVC tube.
Allow all pieces to dry completely.
Capping
Next, John used the PVC caps to seal the ends of each feeder.
These caps fit tightly; we didn’t have to use the PVC cement we had purchased. If the caps don’t fit tightly, you’ll need to cement one end of the pipe, leaving the other end unglued for filling and cleaning.
An alternative is to drill directly through the cap and PVC and thread sisal twine through the hole, tying it off to keep the cap in place.
Using the Feeder
Next it was time to put the interactive dog toy feeders to the test! We put small kibble in one of the short feeders and in one of the long feeders.
We put small jingle bells in the other short feeder to create a fun cat toy that keeps the bells safely out of reach of the cat. (And it’s great for dog-cat households!)
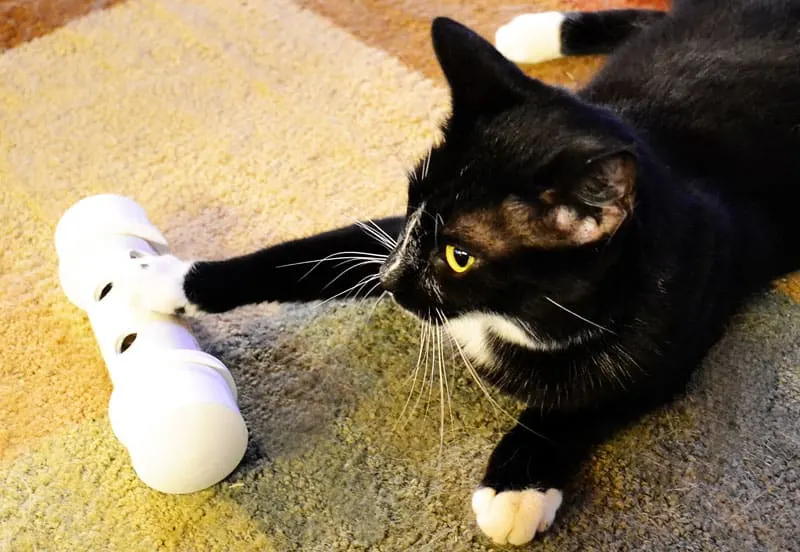
Next we turned the feeders loose on our testing crew:
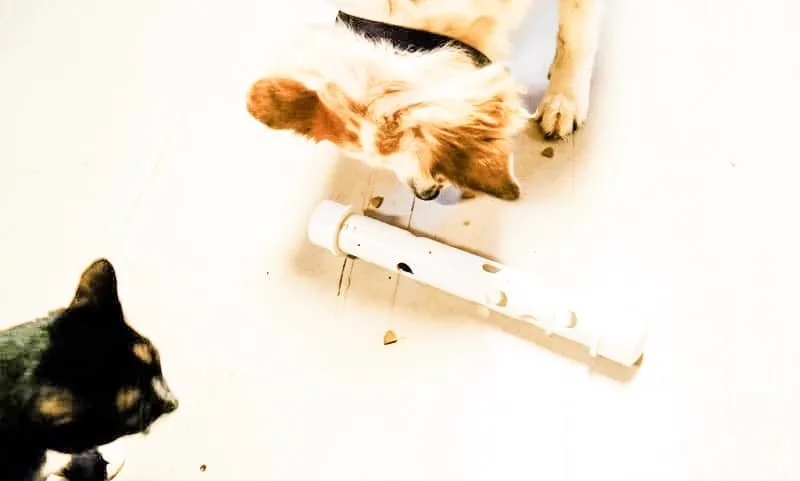
Our DIY project testers gave the feeders and the toy a big paws up!
Pin it to remember How to Make an Interactive Dog Toy
- Review: Jimmy BX7 Pro Anti-Mite Vacuum Cleaner - December 16, 2024
- 🎉 GIVEAWAY: Lord of the Pets Portrait of Your Dog! - November 26, 2024
- Review: Lord of the Pets Portraits - November 17, 2024
