We all know that our dogs LOVE the chewy taste of meat sticks and jerky–but unfortunately some of those treats contain ingredients that just aren’t good for our dogs. Instead, consider making your own healthy dog treats in a dehydrator or oven. You’ll save money and know exactly which ingredients you are feeding your dog. Best of all: many recipes for dehydrated dog treats only require one ingredient!
What kinds of foods can I dehydrate for my dog?
With just a few exceptions, you can dehydrate fruits and vegetables for your dog–although meats are by far the most popular dehydrated dog treat.
You can dehydrate all types of meats, from steak and chicken to ground beef and turkey. You will want to trim all fat from meats before dehydrating. Organ meats like liver and gizzards also make healthy, inexpensive treats your dog will love.
Can I make dehydrated treats in the oven?
Yes, you can make dehydrated dog treats and chews in your oven by baking on the lowest setting, around 180 degrees F.
Although you can dehydrate using just cookie sheets and half sheet pans, it’s helpful (and speeds up the process) if you also use raised a baking rack above a quarter sheet pan to allow air circulation from beneath the treats as they dehydrate.
What kind of dehydrator do I need to make dog treats?
You can use any kind of dehydrator–with or without a temperature dial. I use the Presto 06300 Dehydro Electric Food Dehydrator which I like because it is compact for storage (and it was fairly inexpensive compared with some dehydrators).
I also have a set of non-stick mesh screens which you don’t need for larger chews and strips but are great for small treats, chicken shreds like the recipe below and small fish like anchovies.
How long does it take to dehydrate treats?
The length of time you’ll need to run the dehydrator (or slowly bake them in the oven) depends on several factors:
- the humidity in the air while you’re dehydrating
- the temperature your dehydrator runs at
- the thickness of the meat, fruit or vegetable
- the water content of the meat, fruit or vegetable
- the crispiness you’d like these treats to have. I dehydrate my treats so they’re dry and easy to carry in my dog walking bag, not to make them shelf stable for an extended period. I don’t need to dry them as long as if I were storing them for weeks. If you want to make the food shelf stable, you’ll need to dry them completely. This can mean 4-8 hours for thinly-sliced round steak or even 24 hours for a dried sardine.
How do I know when the treats are done?
If you see any condensation when you bag dehydrated treats, it has not been dried sufficiently.
If you see the condensation right away, you can return the food to the dehydrator or oven–but if you find the condensation later on non-refrigerated treats, you’ll need to discard the treats.
Is it safe to make meat treats in the dehydrator? How do you make sure treats are safe for your dog to eat?
Yes, it’s safe to make meat treats and chews in your dehydrator although you might want to add an extra step if you don’t know the temperature at which your dehydrator runs. (Some have adjustable temperatures; some are set on a fixed temperature.)
If you are dehydrating meat treats and chews, you’ll want to pasteurize the meat for long-term safe storage without refrigeration. If your dehydrator has a temperature control on it and you can dehydrate, at least for a period, over 165 degrees F, you don’t need this step; also, if you are dehydrating treats in the oven, you won’t need to do this step.
You can pasteurize meat in your oven by cooking it at a low temperature either before or after dehydration. To do this, you’ll just pop them in the oven for a few minutes. Most meats will need to be cooked 10-20 minutes at 160-170 F degrees to kill lingering bacteria. USDA has a handy chart of safe minimum internal temperatures for different meats.
How do you store dehydrated dog treats?
If you’ve dehydrated your treats to the point where they are completely dry, they will be shelf stable. According to the National Center for Home Food Preservation, after the treats are cooled completely, “Store dried foods in clean, dry home canning jars, plastic freezer containers with tight-fitting lids or in plastic freezer bags. Vacuum packaging is also a good option.”
If, like me, you dehydrate the treats to the point where they’re convenient for use in your dog walking bag or treat bag but not completely dried out, you’ll want to leave out on the treats for one or two day’s use, storing the remainder in the refrigerator.
One Ingredient Dehydrated Dog Treat Recipes
Dehydrated Meat Sticks
Our dogs LOVE these jerky-like treats. All you need is a thinly-sliced steak (I used bottom round, already sliced). You can use these meat sticks as chews, break them in small pieces as training treats or use them as a “handle” in frozen popsicles for dogs. If you can find some “last chance” meat on sale, this is a great way to create premium treats at an economical cost.
First, trim off all fat. Next, use a sharp knife or a pair of kitchen shears to cut the meat in slices about one-inch wide. Cut WITH the grain for a chewier dog chew.
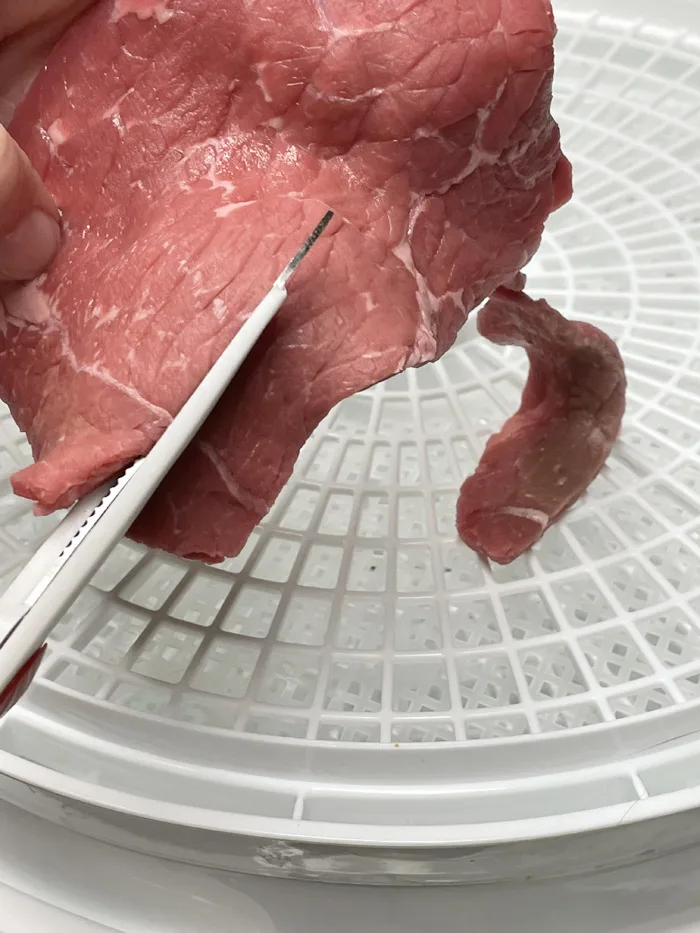
Line the strips on your dehydrator trays or baking rack, making sure no pieces are touching.
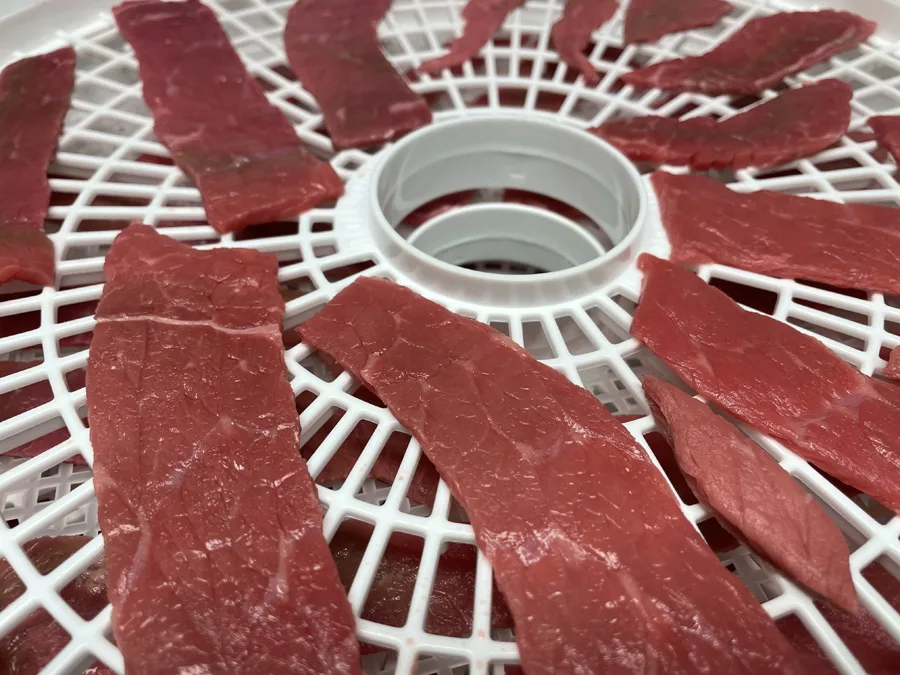
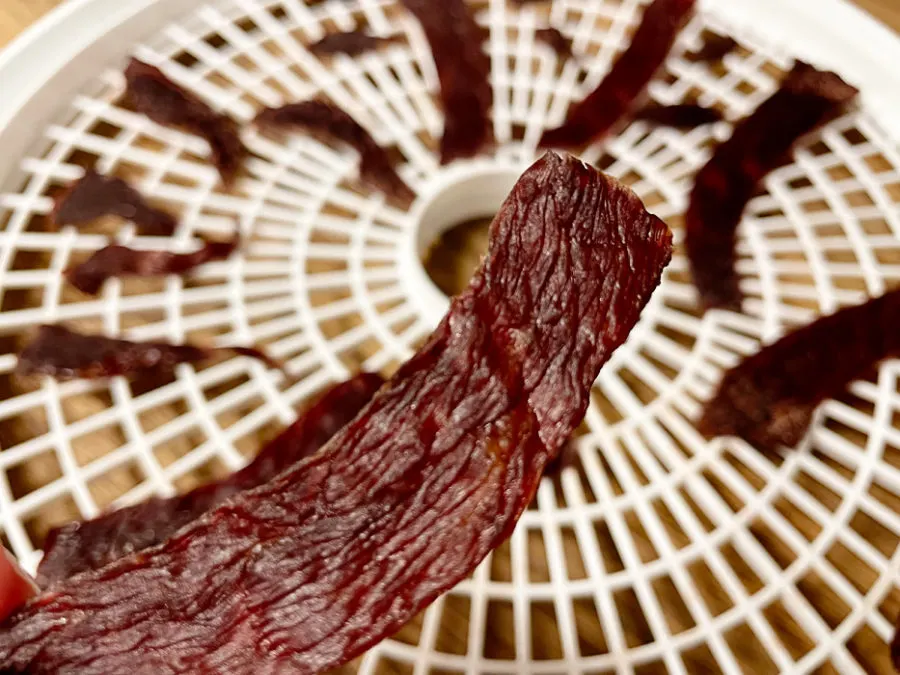
Then start dehydrating! It took about four hours for this batch to dehydrate to the point where they could bend without snapping.
If I’d wanted shelf stable storage, I’d have dried them another hour or two, but this level was perfect for dog walking and training–and these only last a few days. Our dogs love them!
Dehydrated Shredded Chicken Dog Training Treats
It’s no surprise that shredded chicken is a high value treat for our dogs and a great training treat–but it can be a messy one! By dehydrating shredded chicken, you’ll have small, handy treats perfect for your treat bag–and delicious for your dog!
Start by shredding boiled chicken–or use a can of drained, low sodium canned chicken. With either choice, you’ll first want to get as much liquid as you can out of the chicken using paper towels or dish towel, patting to absorb the moisture.
Spread out the shredded chicken on non-stick mesh mats:
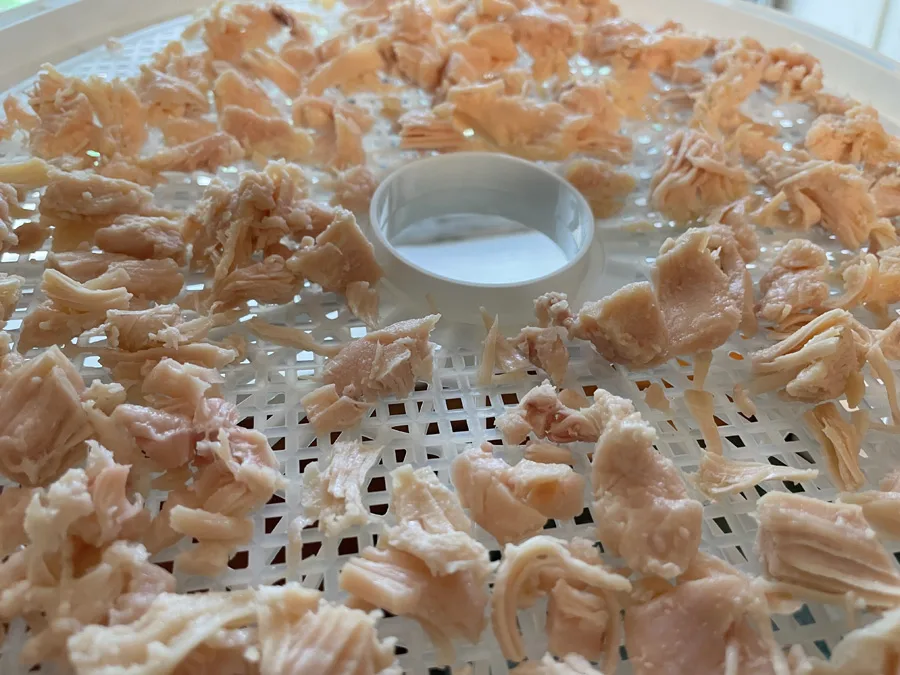
…and plug in the dehydrator! After about four hours (depending on your dehydrator, the size of the shreds and the humidity conditions), it’s done!
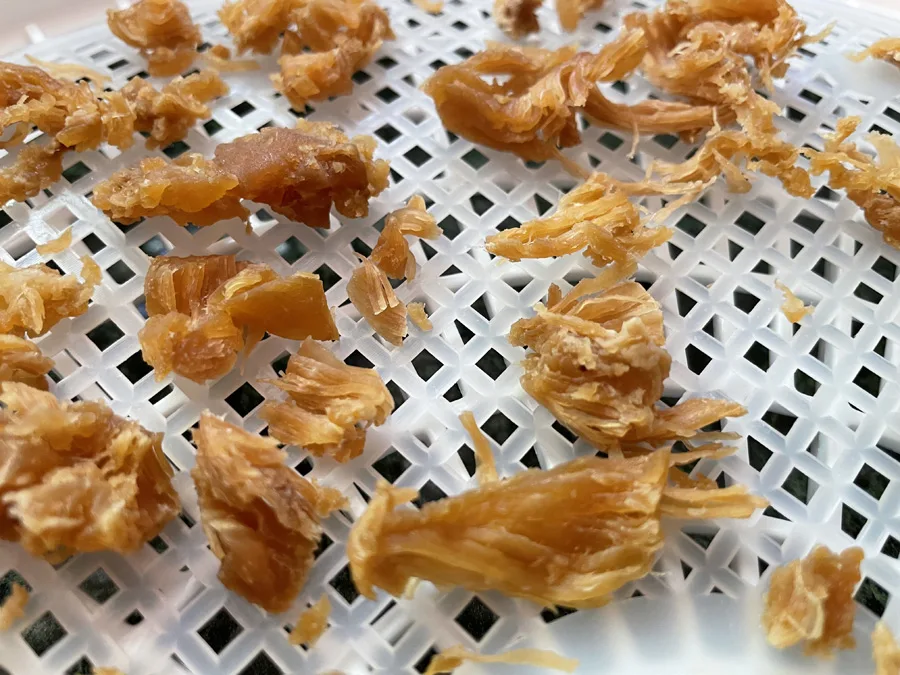
If you’d rather give your dog a chew to enjoy, it’s also very easy to make Chicken Jerky for your dog using a dehydrator or oven!
Dehydrated Sardines
Sardines are a huge favorite with our dogs and a very high value treat for them. However, the size of sardines requires more drying time than other treats so be prepared for some additional time — and additional smell! You might want to relocate the dehydrator to a porch for this one!
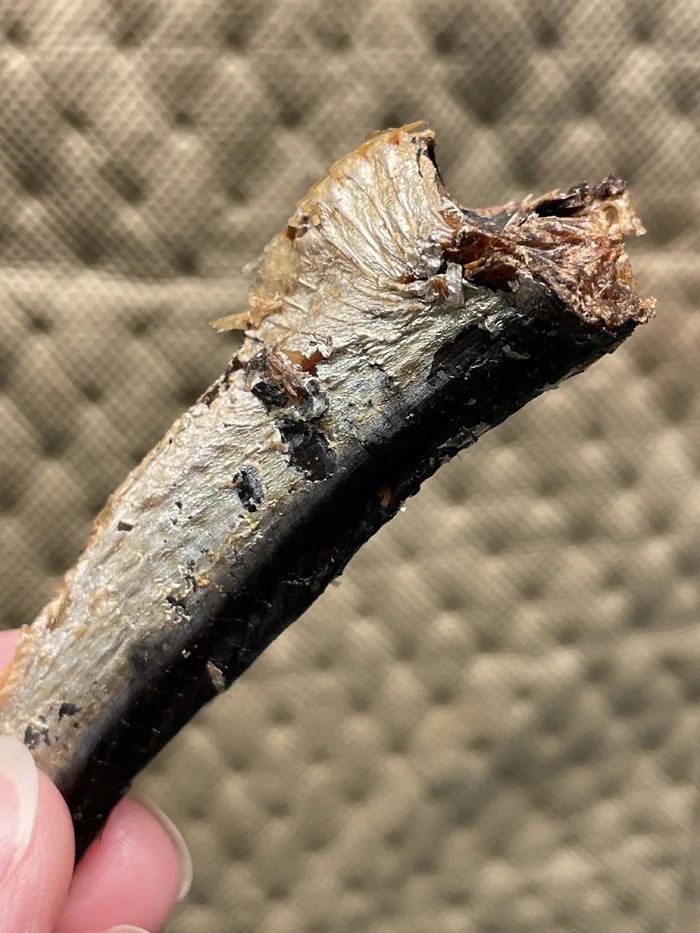
Purchase sardines in water then drain off the water. (I always save this water and freeze it for later use in other dog treat recipes. Just substitute this flavorful water for water called for in the recipe.) Pat the sardines as dry as you can then spread them out on the dehydrator tray.
I usually dry my sardines for about eight hours. This is dry enough for carrying in my dog walking bag and pliable enough that I can break the sardine apart as small treats on the walk. If you want shelf stable sardines, you may need to dehydrate these at least 24 hours.
Another great high-value treat!
More Dehydrated Recipes for Your Dog
We’ve got dozens of dog treat and dog chew recipes here on DogTipper; here’s a look at some more dehydrated treats you can make in a dehydrator or an oven:
- Dehydrated Chicken Liver Dog Treats
- Dehydrated Sweet Potatoes & Bananas Dog Treat Recipe
- Liver Jerky Dog Treats
- Sweet Potato Dog Chews
- Dehydrated Anchovy Dog Treats
Pin It to Remember
- Review: Lord of the Pets Portraits - November 17, 2024
- Sighthound Day - September 27, 2024
- Cottage Cheese Ice Cream for Dogs Recipe - July 29, 2024
